
1. 홈페이지 접속 후 원하는 버전의 Oracle DB 다운로드
Oracle DB Download link
https://www.oracle.com/database/technologies/oracle-database-software-downloads.html
RedHat release 버전 확인
cat /etc/redhat-release
uname -r

Linux update 진행
yum update -y
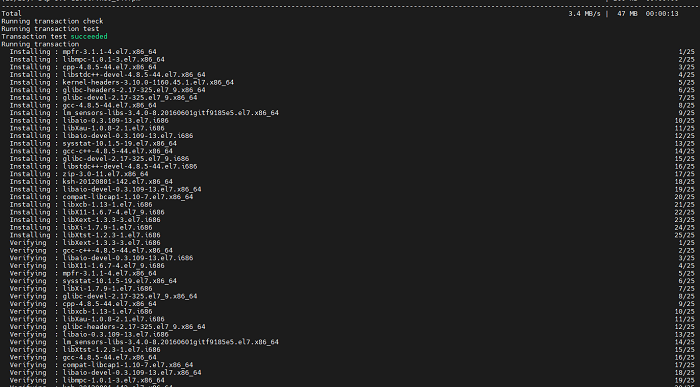
기본 설치 프로그램
Oracle DB 설치 전 필수로 설치되어있어야 하는 프로그램을 설치해준다.
yum install -y binutils.x86_64 compat-libcap1.x86_64 gcc.x86_64 gcc-c++.x86_64 glibc.i686 glibc.x86_64 glibc-devel.i686 glibc-devel.x86_64 ksh compat-libstdc++-33 libaio.i686 libaio.x86 libaio-devel.i686 libaio-devel.x86_64 libgcc.i686 libgcc.x86_64 libstdc++-devel.i686 libstdc++-devel.x86_64 libXi.i686 libXi.x86_64 libXtst.i686 libXst.x86_64 make.x86_64 sysstat.x86_64 zip unzip


Oracle 사용자, 그룹 생성
groupadd oinstall
groupadd dba
useradd -g oinstall -G dba oracle && passwd oracle
oracle 계정 환경 변수 설정
cd /home/oracle
mkdir db
chown -R oracle:oinstall db
chmod -R 775 db
chmod g+s db

Oracle .bash_profile 세팅
vi /home/oracle/.bash_profile
변경 전
.bash_profile
Get the aliases and functions
if [ -f ~/.bashrc ]; then
        . ~/.bashrc
fi
# User specific environment and startup programs
PATH=$PATH:$HOME/.local/bin:$HOME/bin
export PATH
...
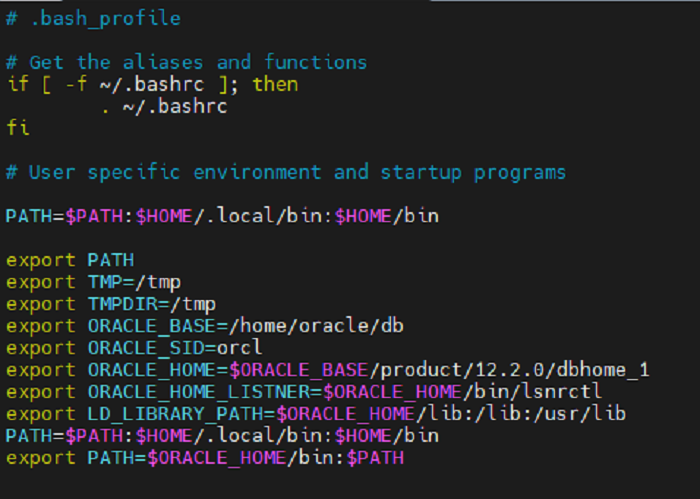
변경 후
.bash_profile
# Get the aliases and functions
if [ -f ~/.bashrc ]; then
        . ~/.bashrc
fi
# User specific environment and startup programs
PATH=$PATH:$HOME/.local/bin:$HOME/bin
export PATH
export TMP=/tmp
export TMPDIR=/tmp
export ORACLE_BASE=/home/oracle/db
export ORACLE_SID=orcl
export ORACLE_HOME=$ORACLE_BASE/product/12.2.0/dbhome_1
export ORACLE_HOME_LISTNER=$ORACLE_HOME/bin/lsnrctl
export LD_LIBRARY_PATH=$ORACLE_HOME/lib:/lib:/usr/lib
PATH=$PATH:$HOME/.local/bin:$HOME/bin
export PATH=$ORACLE_HOME/bin:$PATH
...
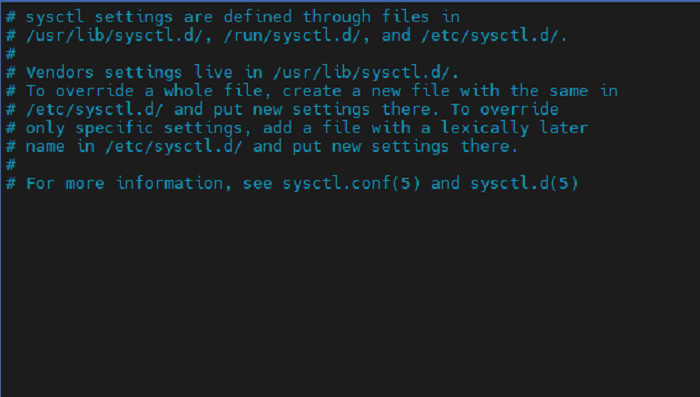
커널 설정 수정
vi /etc/sysctl.conf
변경 전
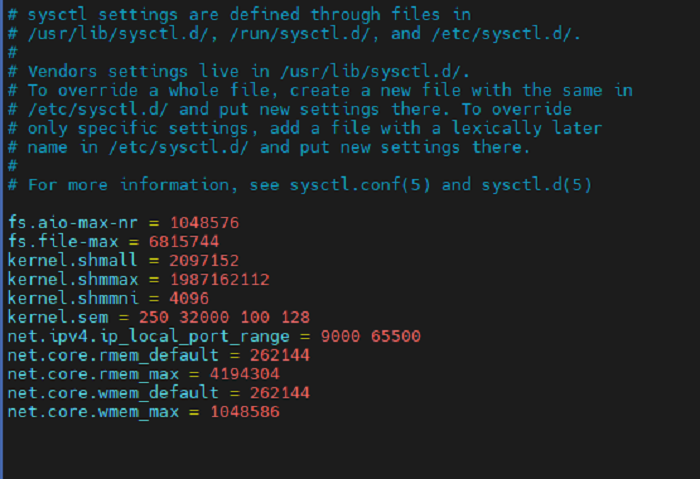
코드 추가
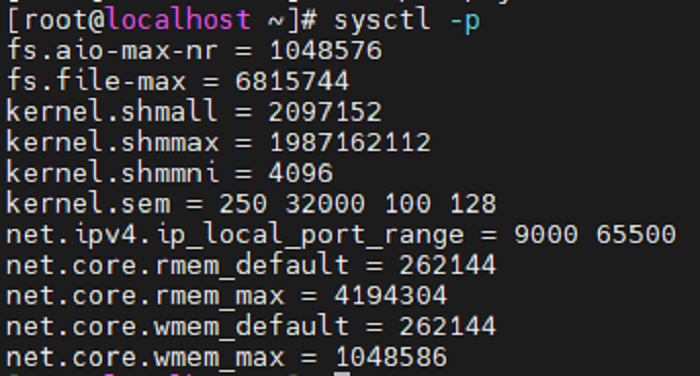
fs.aio-max-nr = 1048576
fs.file-max = 6815744
kernel.shmall = 2097152
kernel.shmmax = 1987162112
kernel.shmmni = 4096
kernel.sem = 250 32000 100 128
net.ipv4.ip_local_port_range = 9000 65500
net.core.rmem_default = 262144
net.core.rmem_max = 4194304
net.core.wmem_default = 262144
net.core.wmem_max = 1048586
변경 후
Kernel update
sysctl -p
업데이트 내용 확인
계정 limit 설정
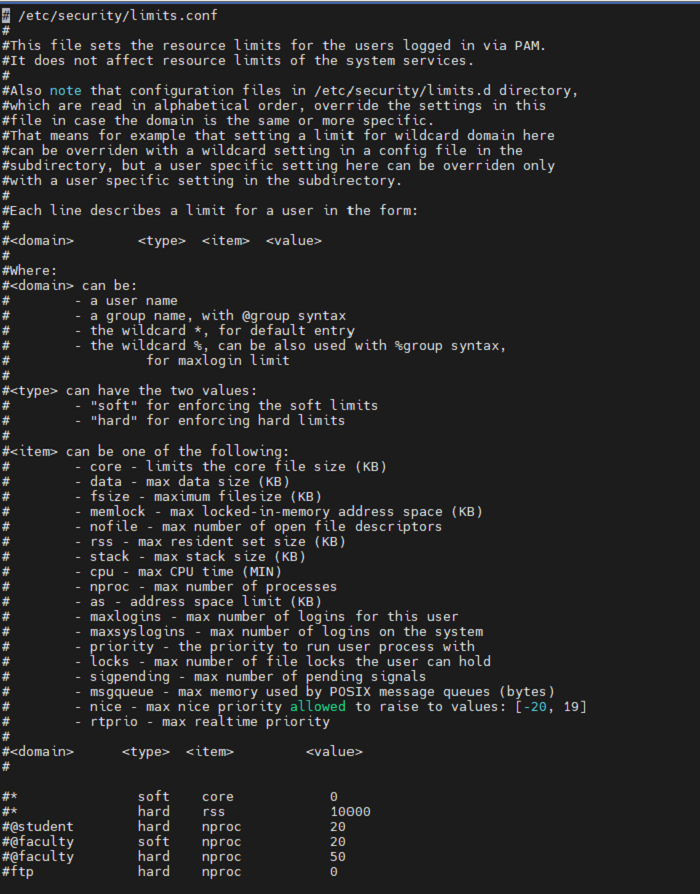
vi /etc/security/limits.conf
변경 전
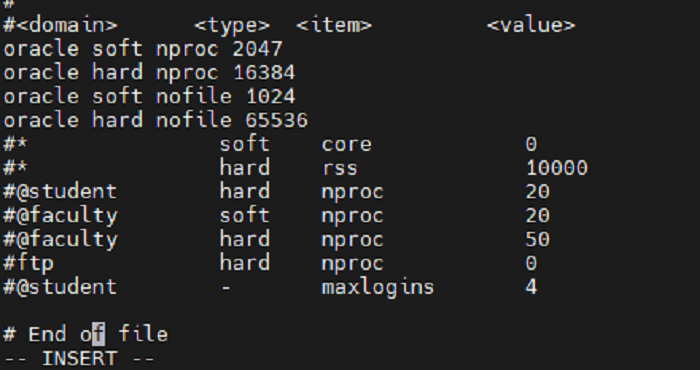
limit 설정
oracle soft nproc 2047
oracle hard nproc 16384
oracle soft nofile 1024
oracle hard nofile 65536
변경 후
Oracle Install
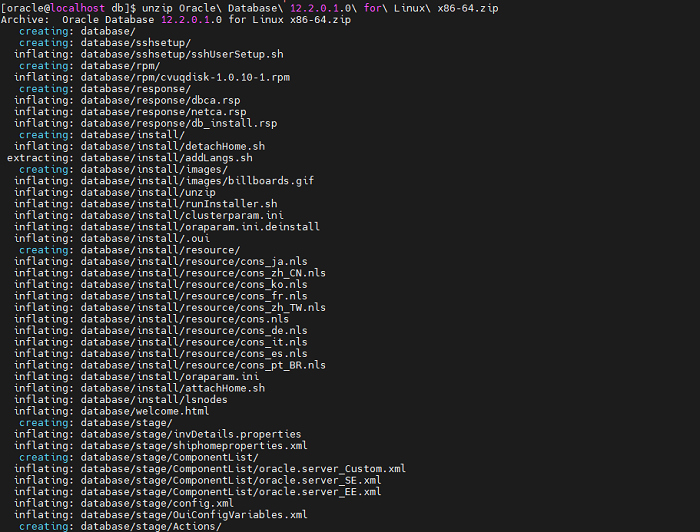
다운로드 받은 Oracle DB 설치파일 압축 해제
unzip Oracle Database 12.2.0.1.0 for Linux x86-64.zip
su - oracle
cd /home/oracle/database
Oracle 실행
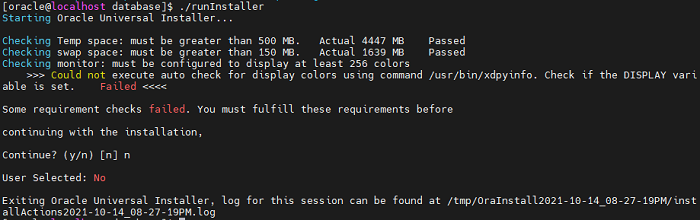
Xwindow가 없어 에러가 실패가 나지만 설치를 계속 진행하였다.
[oracle@localhost database] ./runInstaller
Starting Oracle Universal Installer...
Checking Temp space: must be greater than 500 MB.   Actual 4093 MB    Passed
Checking swap space: must be greater than 150 MB.   Actual 1639 MB    Passed
Checking monitor: must be configured to display at least 256 colors
    >>> Could not execute auto check for display colors using command /usr/bin/xdpyinfo. Check if the DISPLAY                                                                           variable is set.    Failed <<<<
Some requirement checks failed. You must fulfill these requirements before
continuing with the installation,
Continue? (y/n) [n] y
>>> Ignoring required pre-requisite failures. Continuing...
Preparing to launch Oracle Universal Installer from /tmp/OraInstall2021-10-13_05-12-18AM. Please wait ...
DISPLAY not set. Please set the DISPLAY and try again.
Depending on the Unix Shell, you can use one of the following commands as examples to set the DISPLAY environment variable:
- For csh:                      % setenv DISPLAY 192.168.1.128:0.0
- For sh, ksh and bash:         $ DISPLAY=192.168.1.128:0.0; export DISPLAY
Use the following command to see what shell is being used:
        echo $SHELL
Use the following command to view the current DISPLAY environment variable setting:
        echo $DISPLAY
- Make sure that client users are authorized to connect to the X Server.
To enable client users to access the X Server, open an xterm, dtterm or xconsole as the user that started the session and type the following command:
% xhost +
To test that the DISPLAY environment variable is set correctly, run a X11 based program that comes with the native operating system such as 'xclock':
        % <full path to xclock.. see below>
If you are not able to run xclock successfully, please refer to your PC-X Server or OS vendor for further assistance.
Typical path for xclock: /usr/X11R6/bin/xclock
이후 설치
xhost +
xclock
xterm
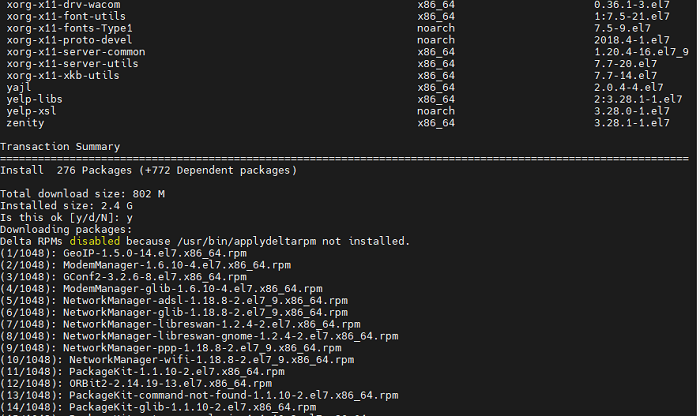
GUI Interface install (GNOME) for RHEL 7
yum groupinstall "Server with GUI"
ln -sf /lib/systemd/system/runlevel5.target /etc/systemd/system/default.target
reboot
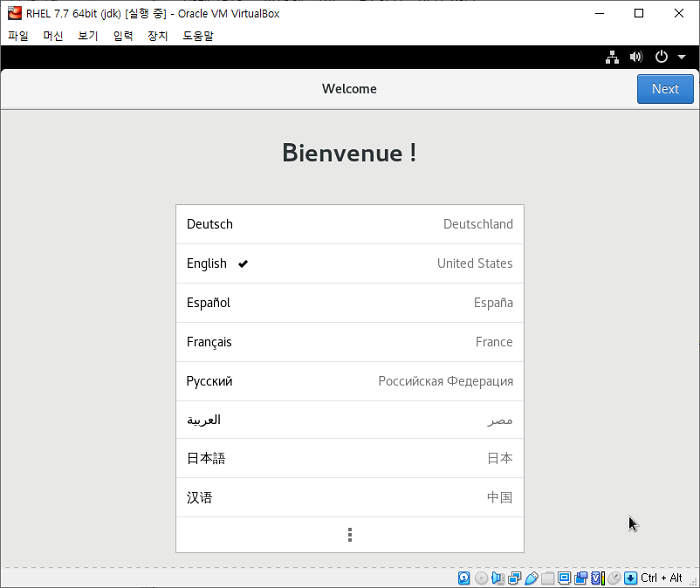
이후 다시 oracle 계정의 database 폴더 내 설치 파일을 실행하여 진행한다.
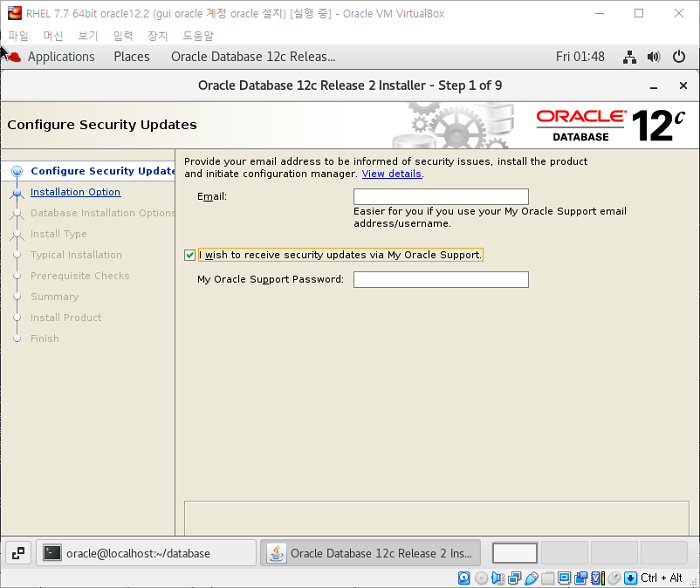
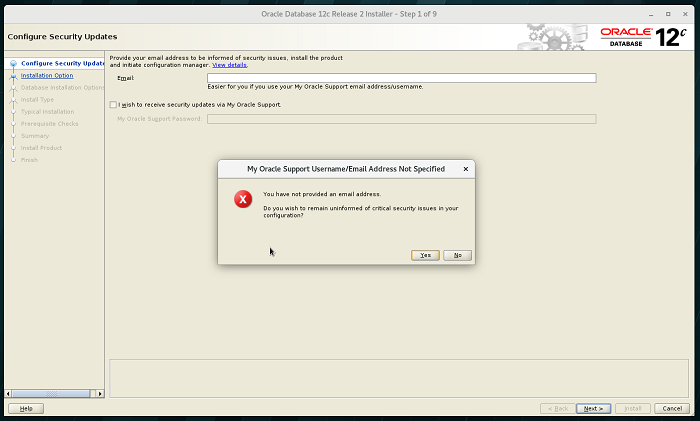
Oracle DB Install
보안 메일 수신 거부 후 next
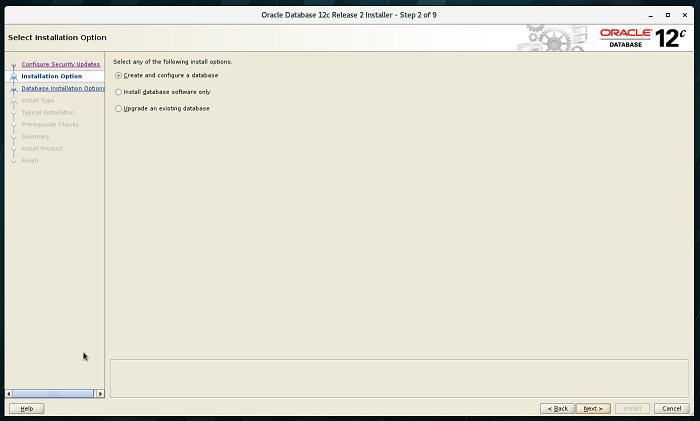
2. DB 생성하기 -> next
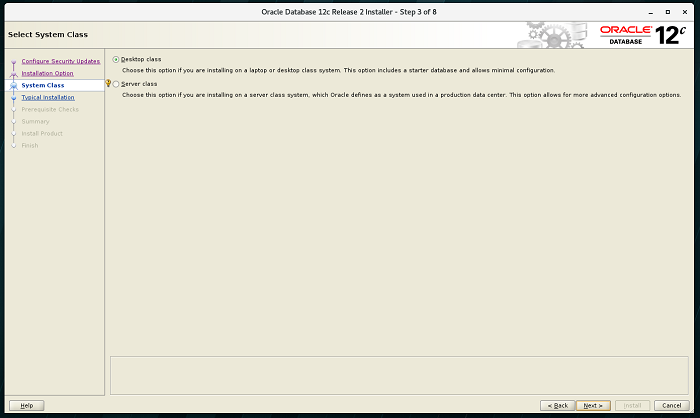
3. Server class -> next
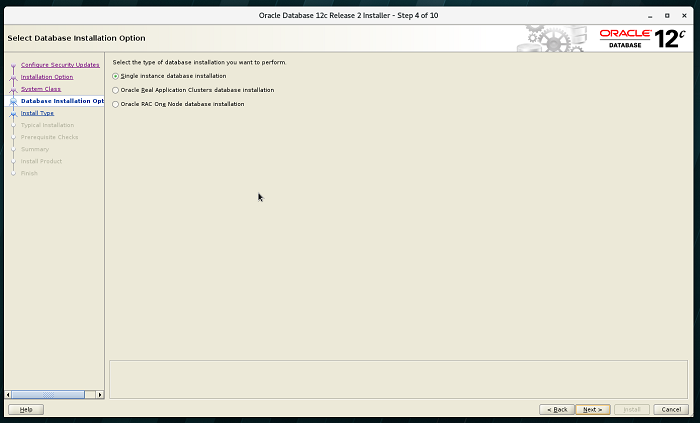
4. Single instance database installation -> next
5. Advanced install -> next
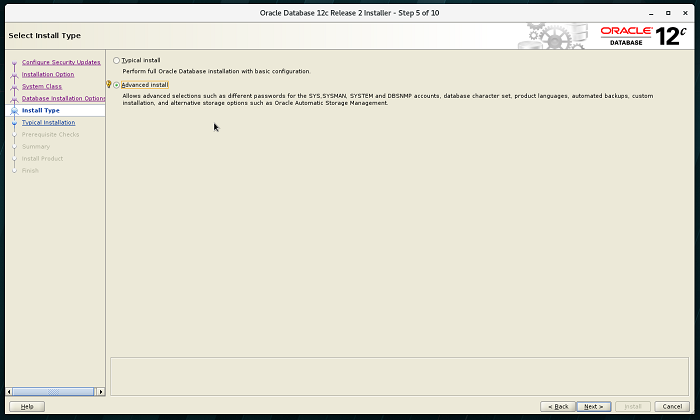
6. Enterprise Edition -> next
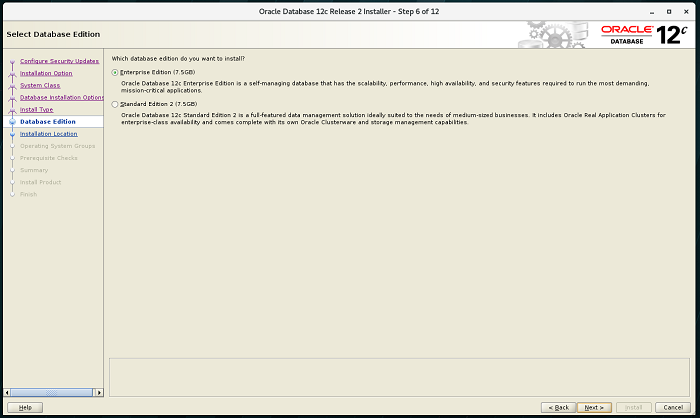
7. Oracle install path 설정 -> next
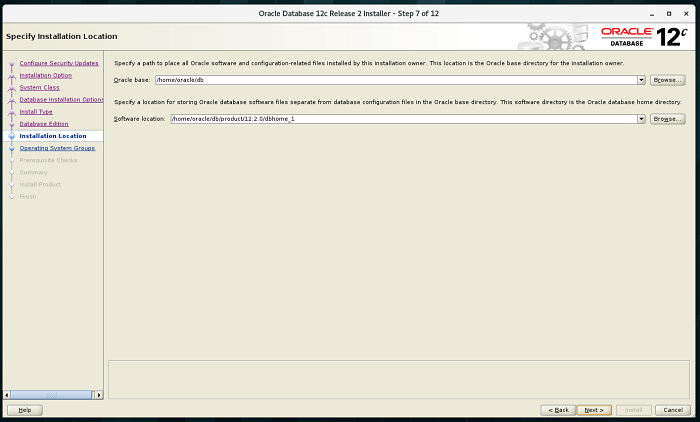
8. Oracle 인벤토리 설정 -> next
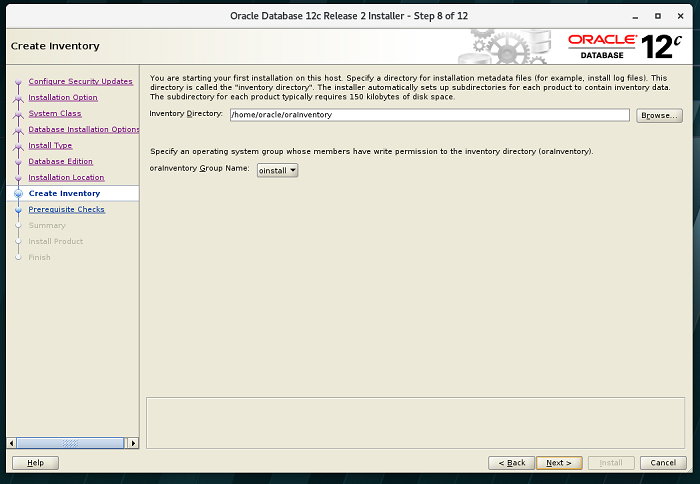
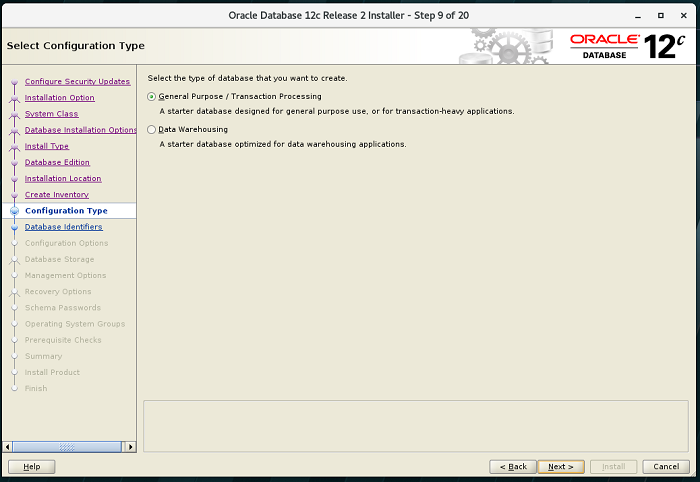
9. DB type 설정 -> next
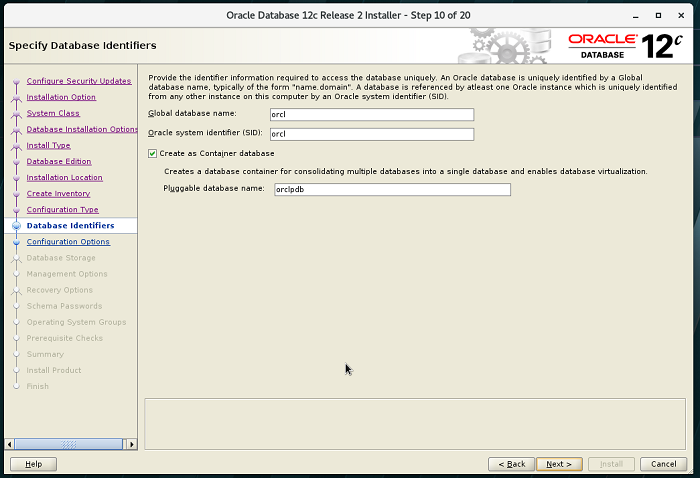
10. 글로벌 이름, SID, Pluggable 설정 -> next
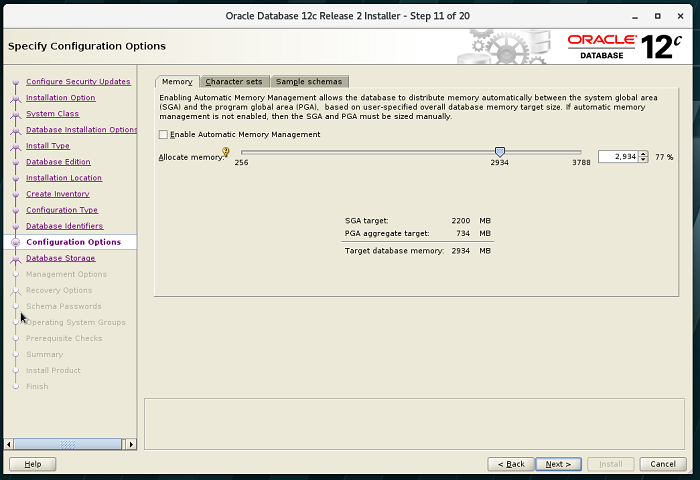
11. 메모리 설정 -> character sets
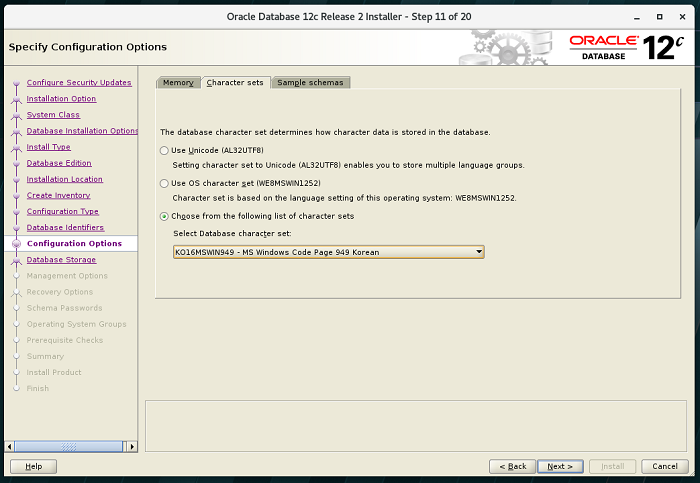
12. character sets 설정(AL32UTF8) -> next
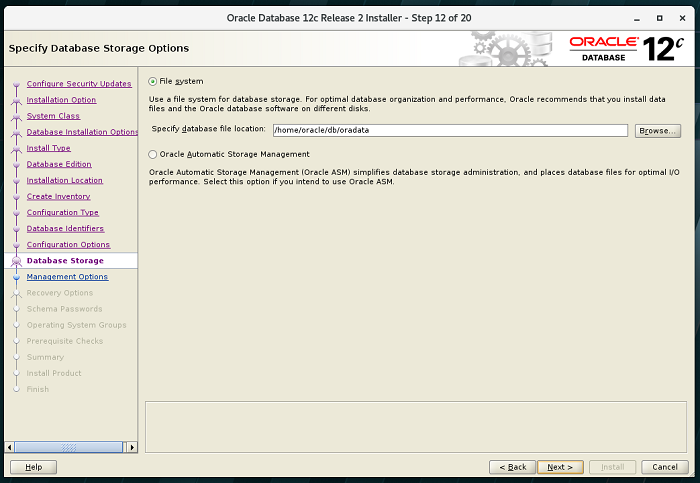
12. 오라클 파일 시스템 설정 -> next
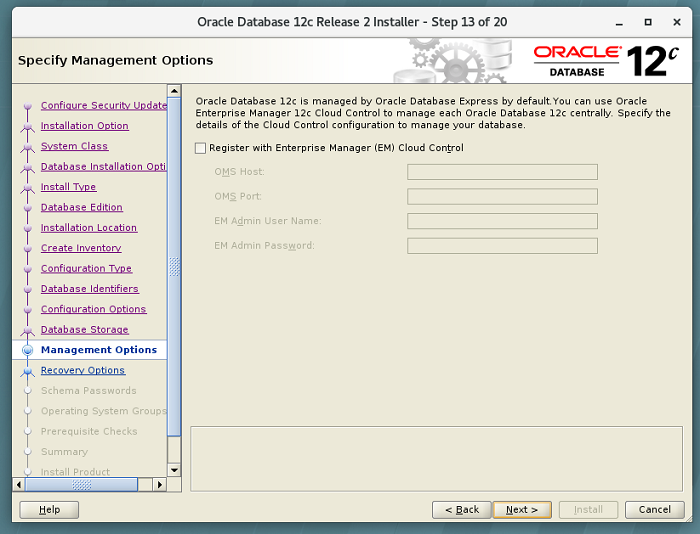
12. EM(Enterprise Manager) 설정 -> next
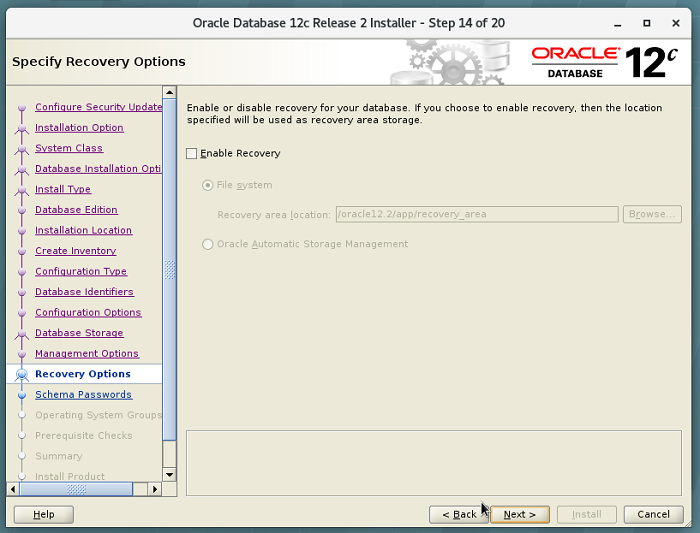
13. 복구 관련 설정 -> next
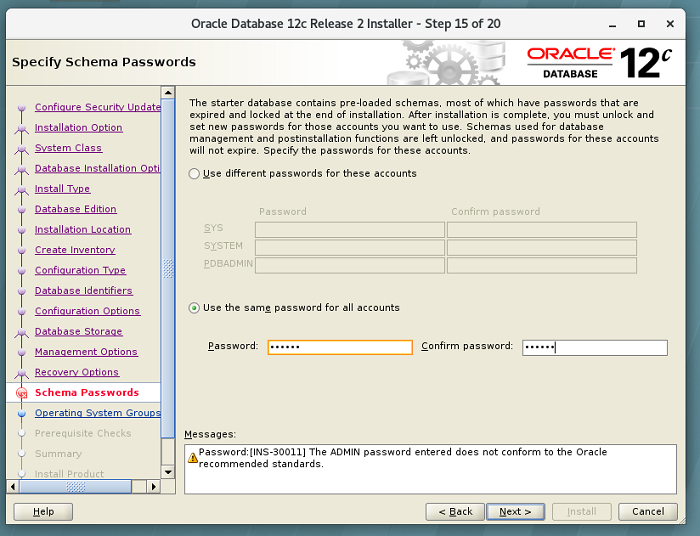
14. 비밀번호 설정 -> next
15. 그룹 설정 -> next -> install

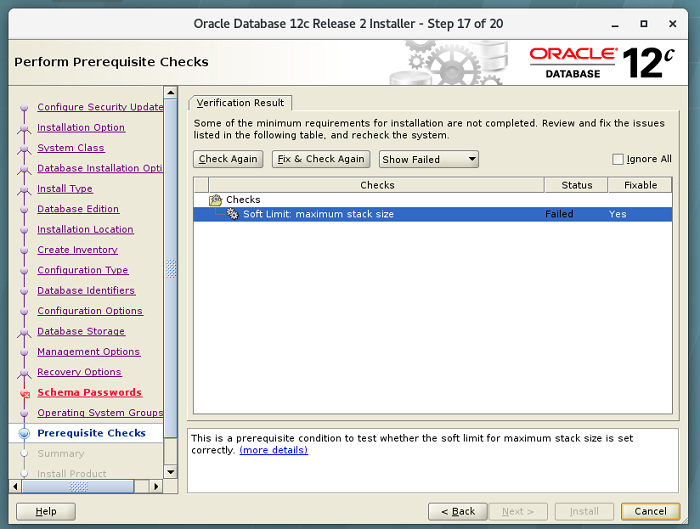
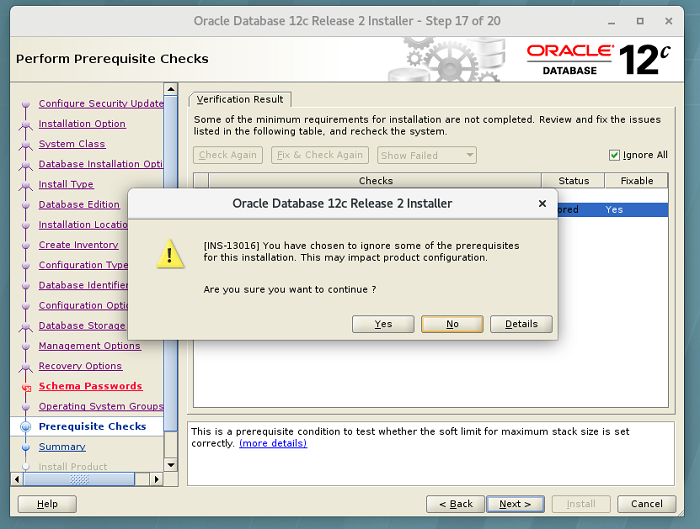
16. 스택 사이즈 설정
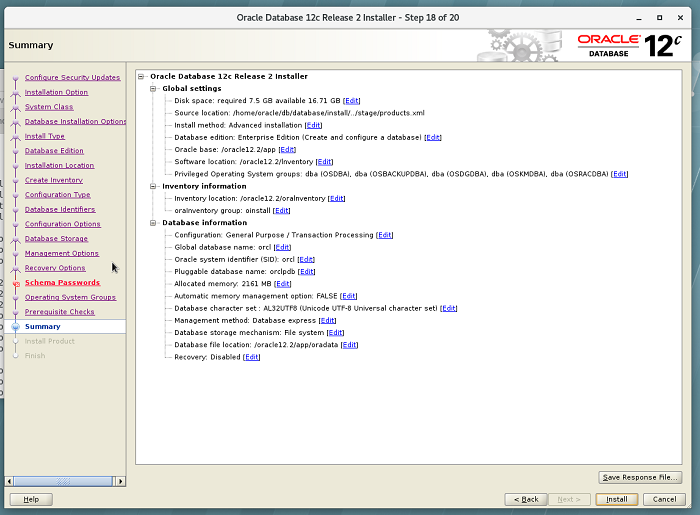
17. oracle 설치에 관한 정보 확인
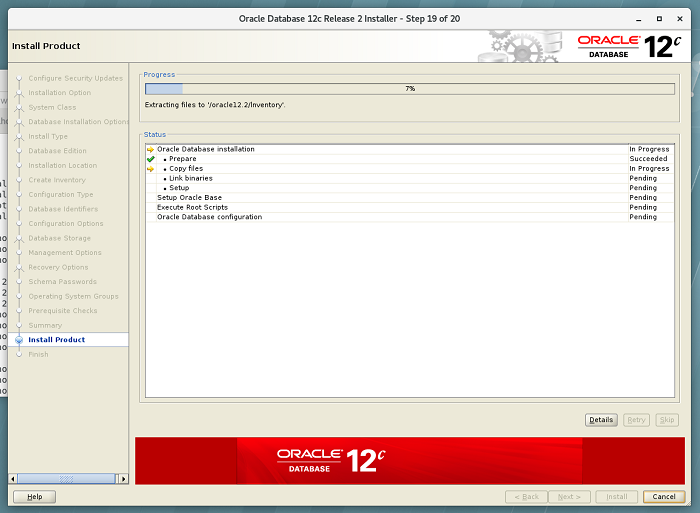
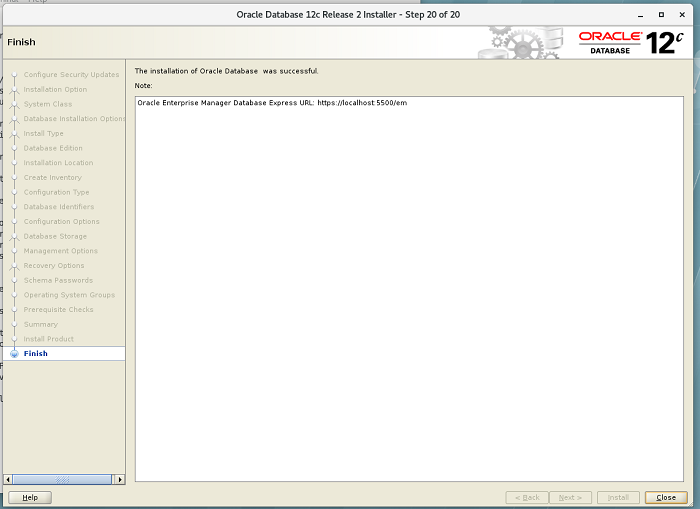
18. 설치 진행
19. 설치 중 명령어 입력 창이 뜨면 입력 후 설치 창에서 ok 클릭 후 진행
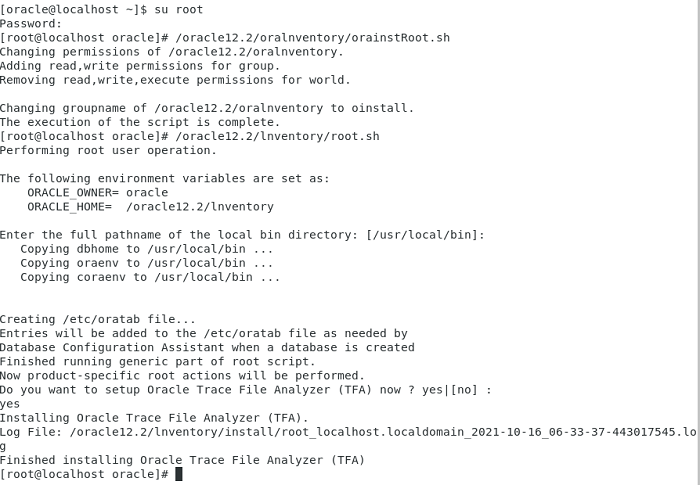
21. oracle 환경변수 재설정
용량때문에 변경한 oracle path 재 지정, 실행
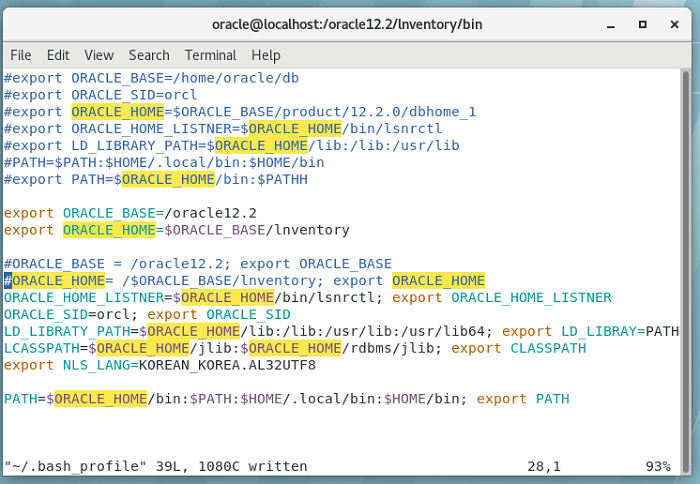
.bash_profile
# Get the aliases and functions
if [ -f ~/.bashrc ]; then
        . ~/.bashrc
fi
# User specific environment and startup programs
PATH=$PATH:$HOME/.local/bin:$HOME/bin
export PAT
export TMP=/tmp
#export TMPDIR=/tmp
#export ORACLE_BASE=/home/oracle/db
#export ORACLE_SID=orcl
#export ORACLE_HOME=$ORACLE_BASE/product/12.2.0/dbhome_1
#export ORACLE_HOME_LISTNER=$ORACLE_HOME/bin/lsnrctl
#export LD_LIBRARY_PATH=$ORACLE_HOME/lib:/lib:/usr/lib
#PATH=$PATH:$HOME/.local/bin:$HOME/bin
#export PATH=$ORACLE_HOME/bin:$PATHH
export ORACLE_BASE=/oracle12.2
export ORACLE_HOME=$ORACLE_BASE/lnventory
#ORACLE_BASE = /oracle12.2; export ORACLE_BASE
#ORACLE_HOME= /$ORACLE_BASE/lnventory; export ORACLE_HOME
ORACLE_HOME_LISTNER=$ORACLE_HOME/bin/lsnrctl; export ORACLE_HOME_LISTNER
ORACLE_SID=orcl; export ORACLE_SID
LD_LIBRATY_PATH=$ORACLE_HOME/lib:/lib:/usr/lib:/usr/lib64; export LD_LIBRAY=PATH
LCASSPATH=$ORACLE_HOME/jlib:$ORACLE_HOME/rdbms/jlib; export CLASSPATH
export NLS_LANG=KOREAN_KOREA.AL32UTF8
PATH=$ORACLE_HOME/bin:$PATH:$HOME/.local/bin:$HOME/bin; export PATH
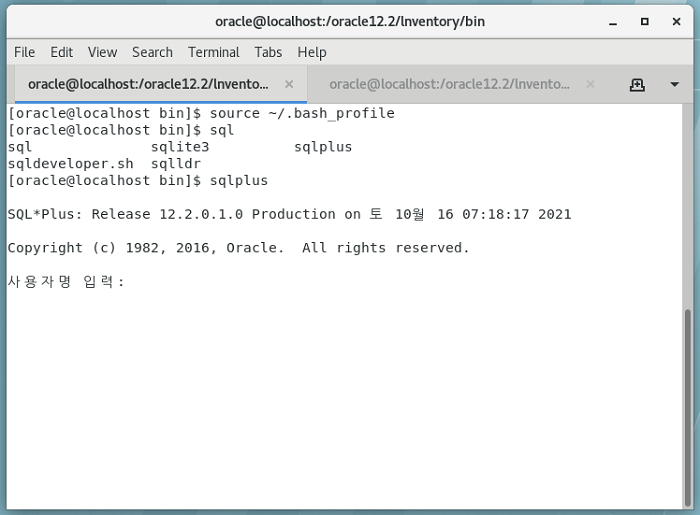
Oracle Database 설치 완료